Via Peter’s Tumblr: he kindly translated the original from the Betty Bossi Swiss baking cookbook for me.
Alsatian tarte flambée
This delicious speciality from Alsace is also ideal for an aperitif. Thinly rolled bread dough with sour cream, onions and bacon cubes!
- 350g flour (12½ oz)
- 1.25 tsp salt
- 2 dl water (6.7 US fl oz / .42 US pt)
- 2 tbsp olive oil
- 200 g crème fraîche / sour cream (7 oz)
- 2 onions (we had less, so used less…) 1
- 20 g farmer’s (thick, well-smoked) bacon in slices (4¼ oz)
- a small grind of pepper
And this is how it’s done:
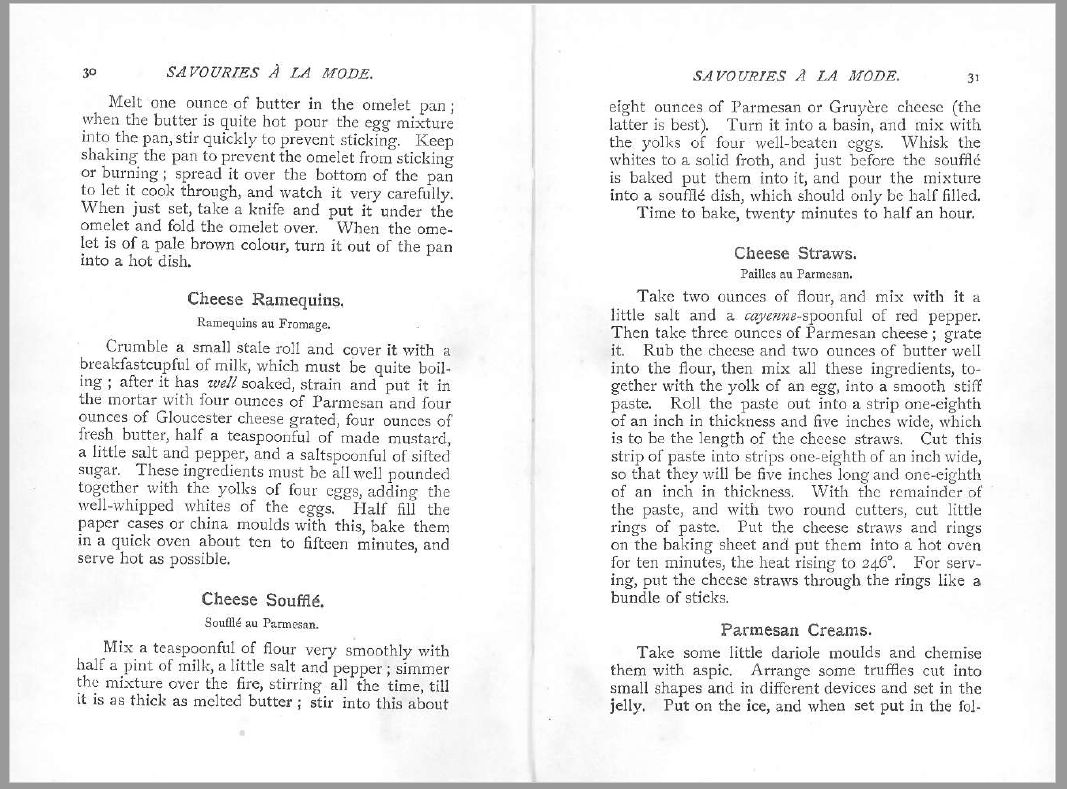
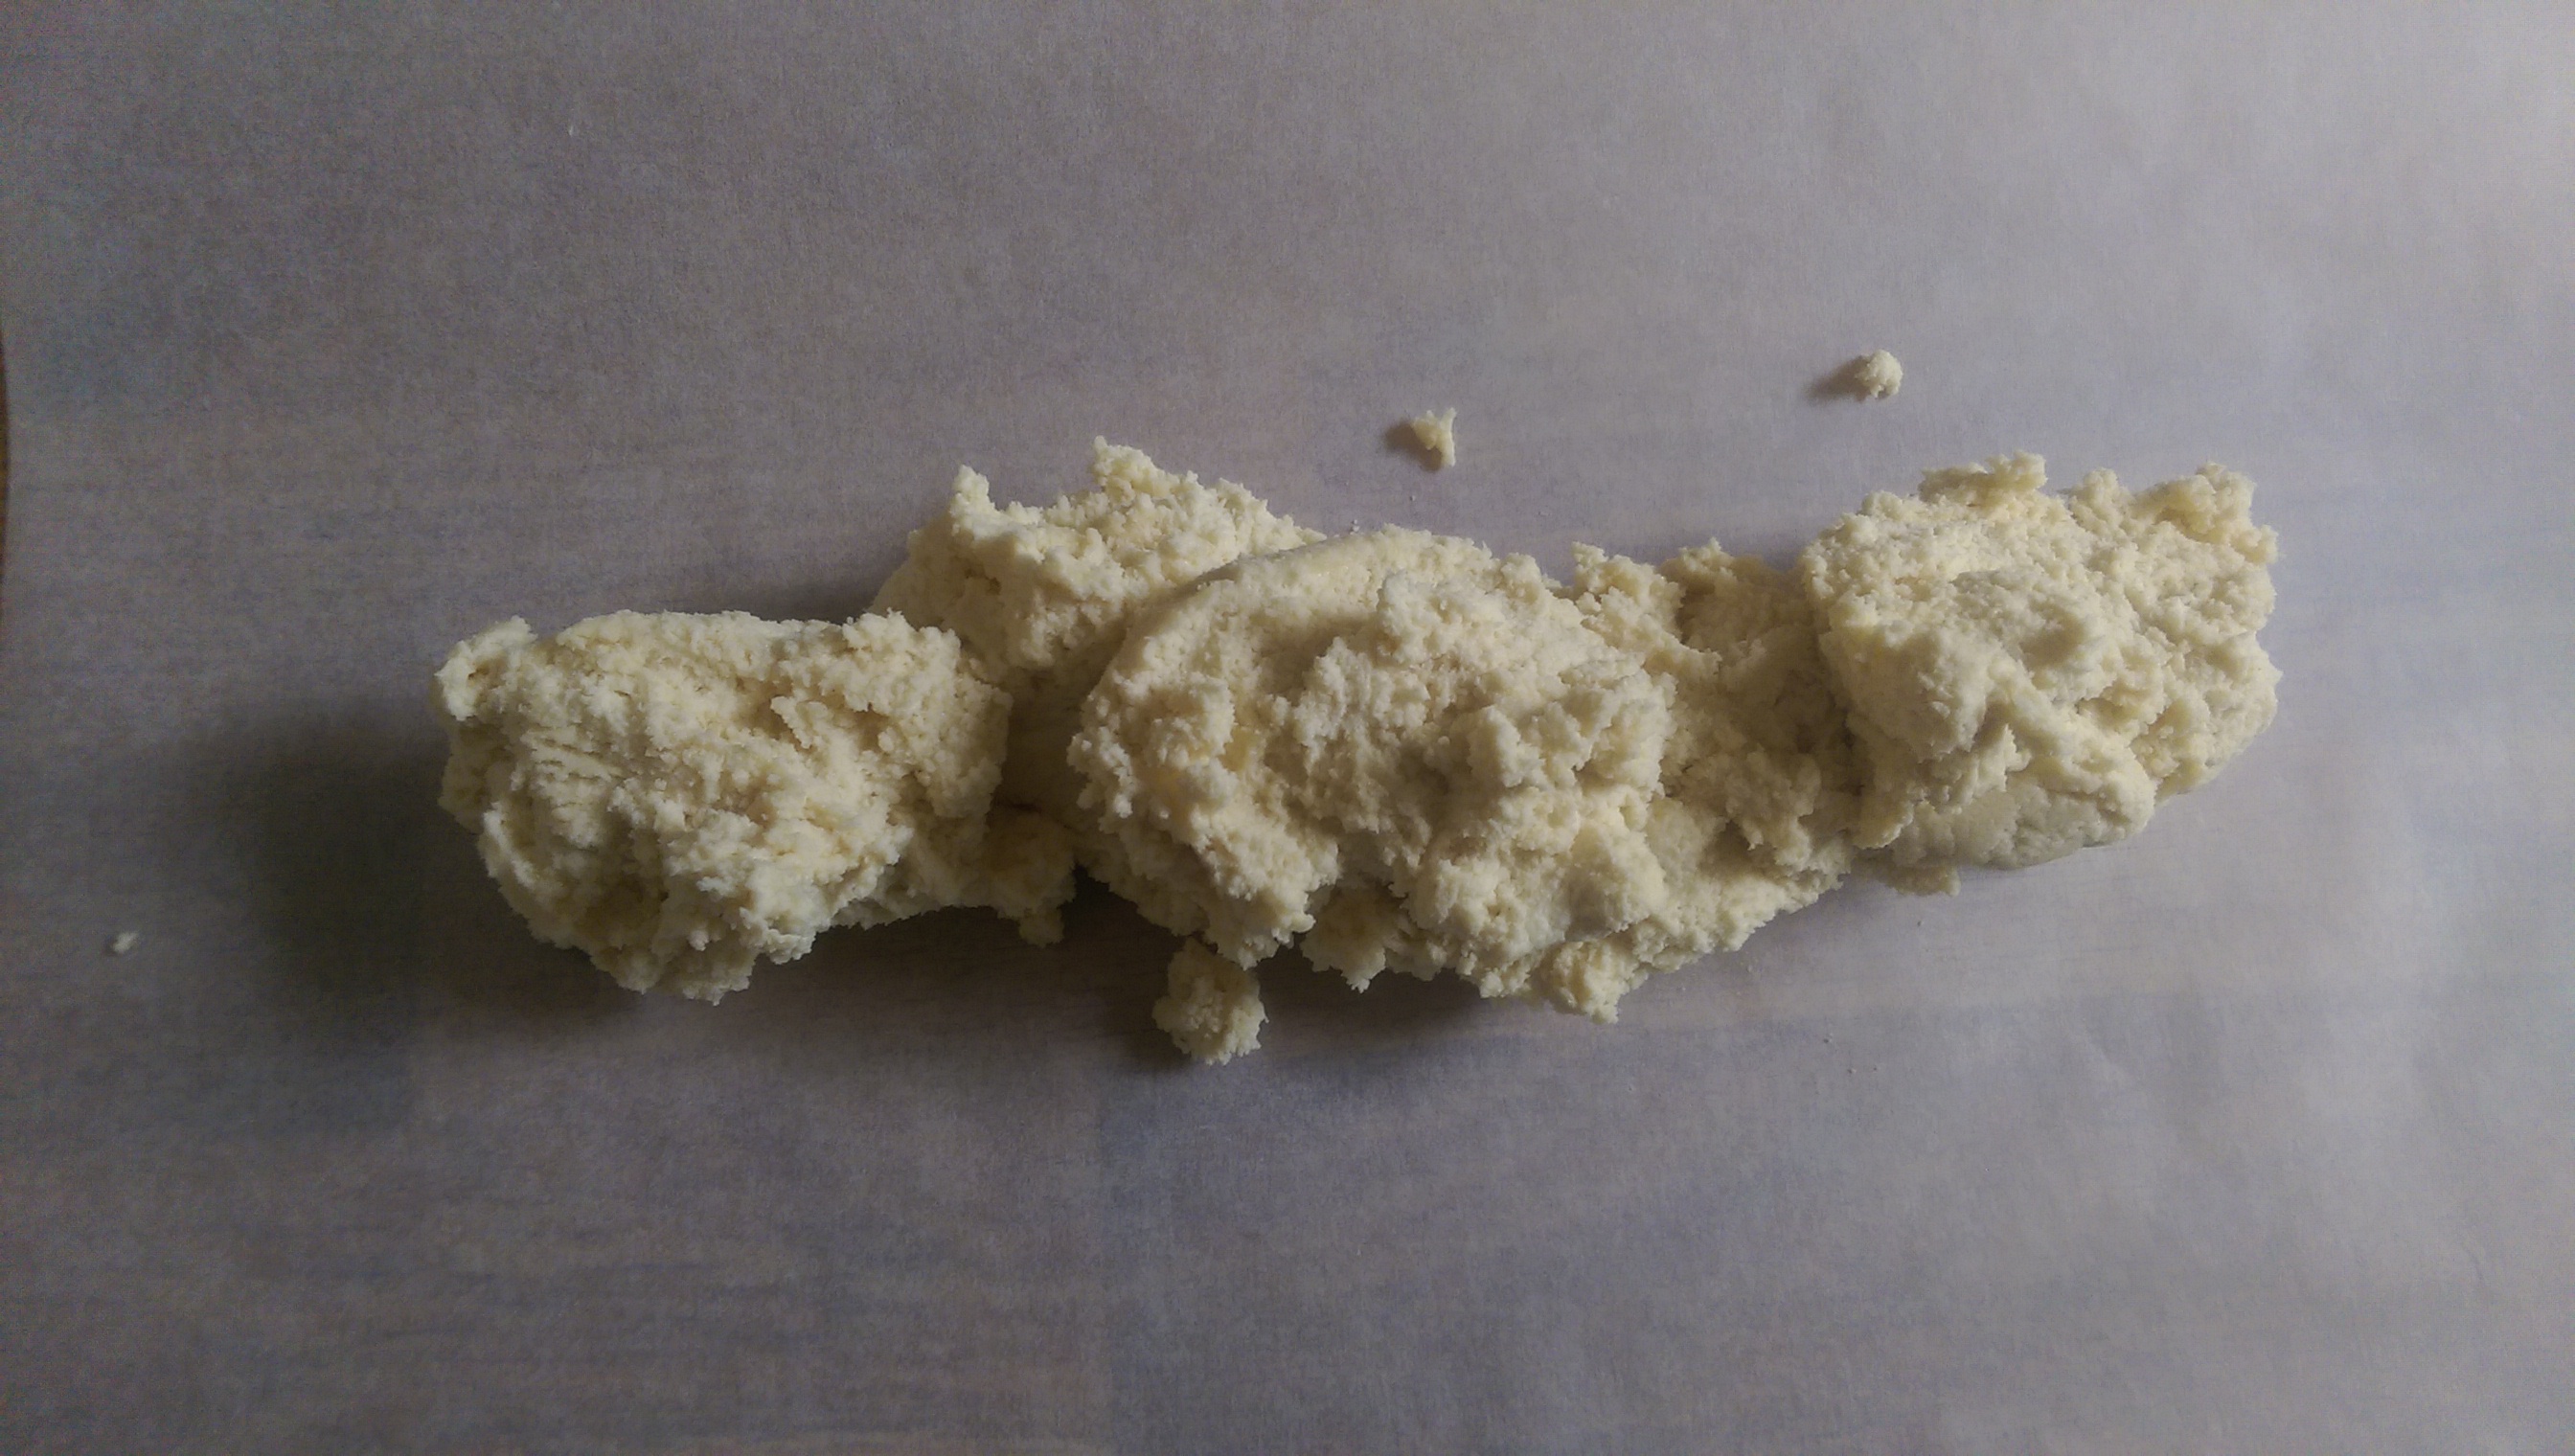
Mix flour and salt in a bowl. Pour in water and oil, mix and knead into a soft, smooth dough. Form the dough into a ball, cover and let it rest at room temperature for about 30 minutes.
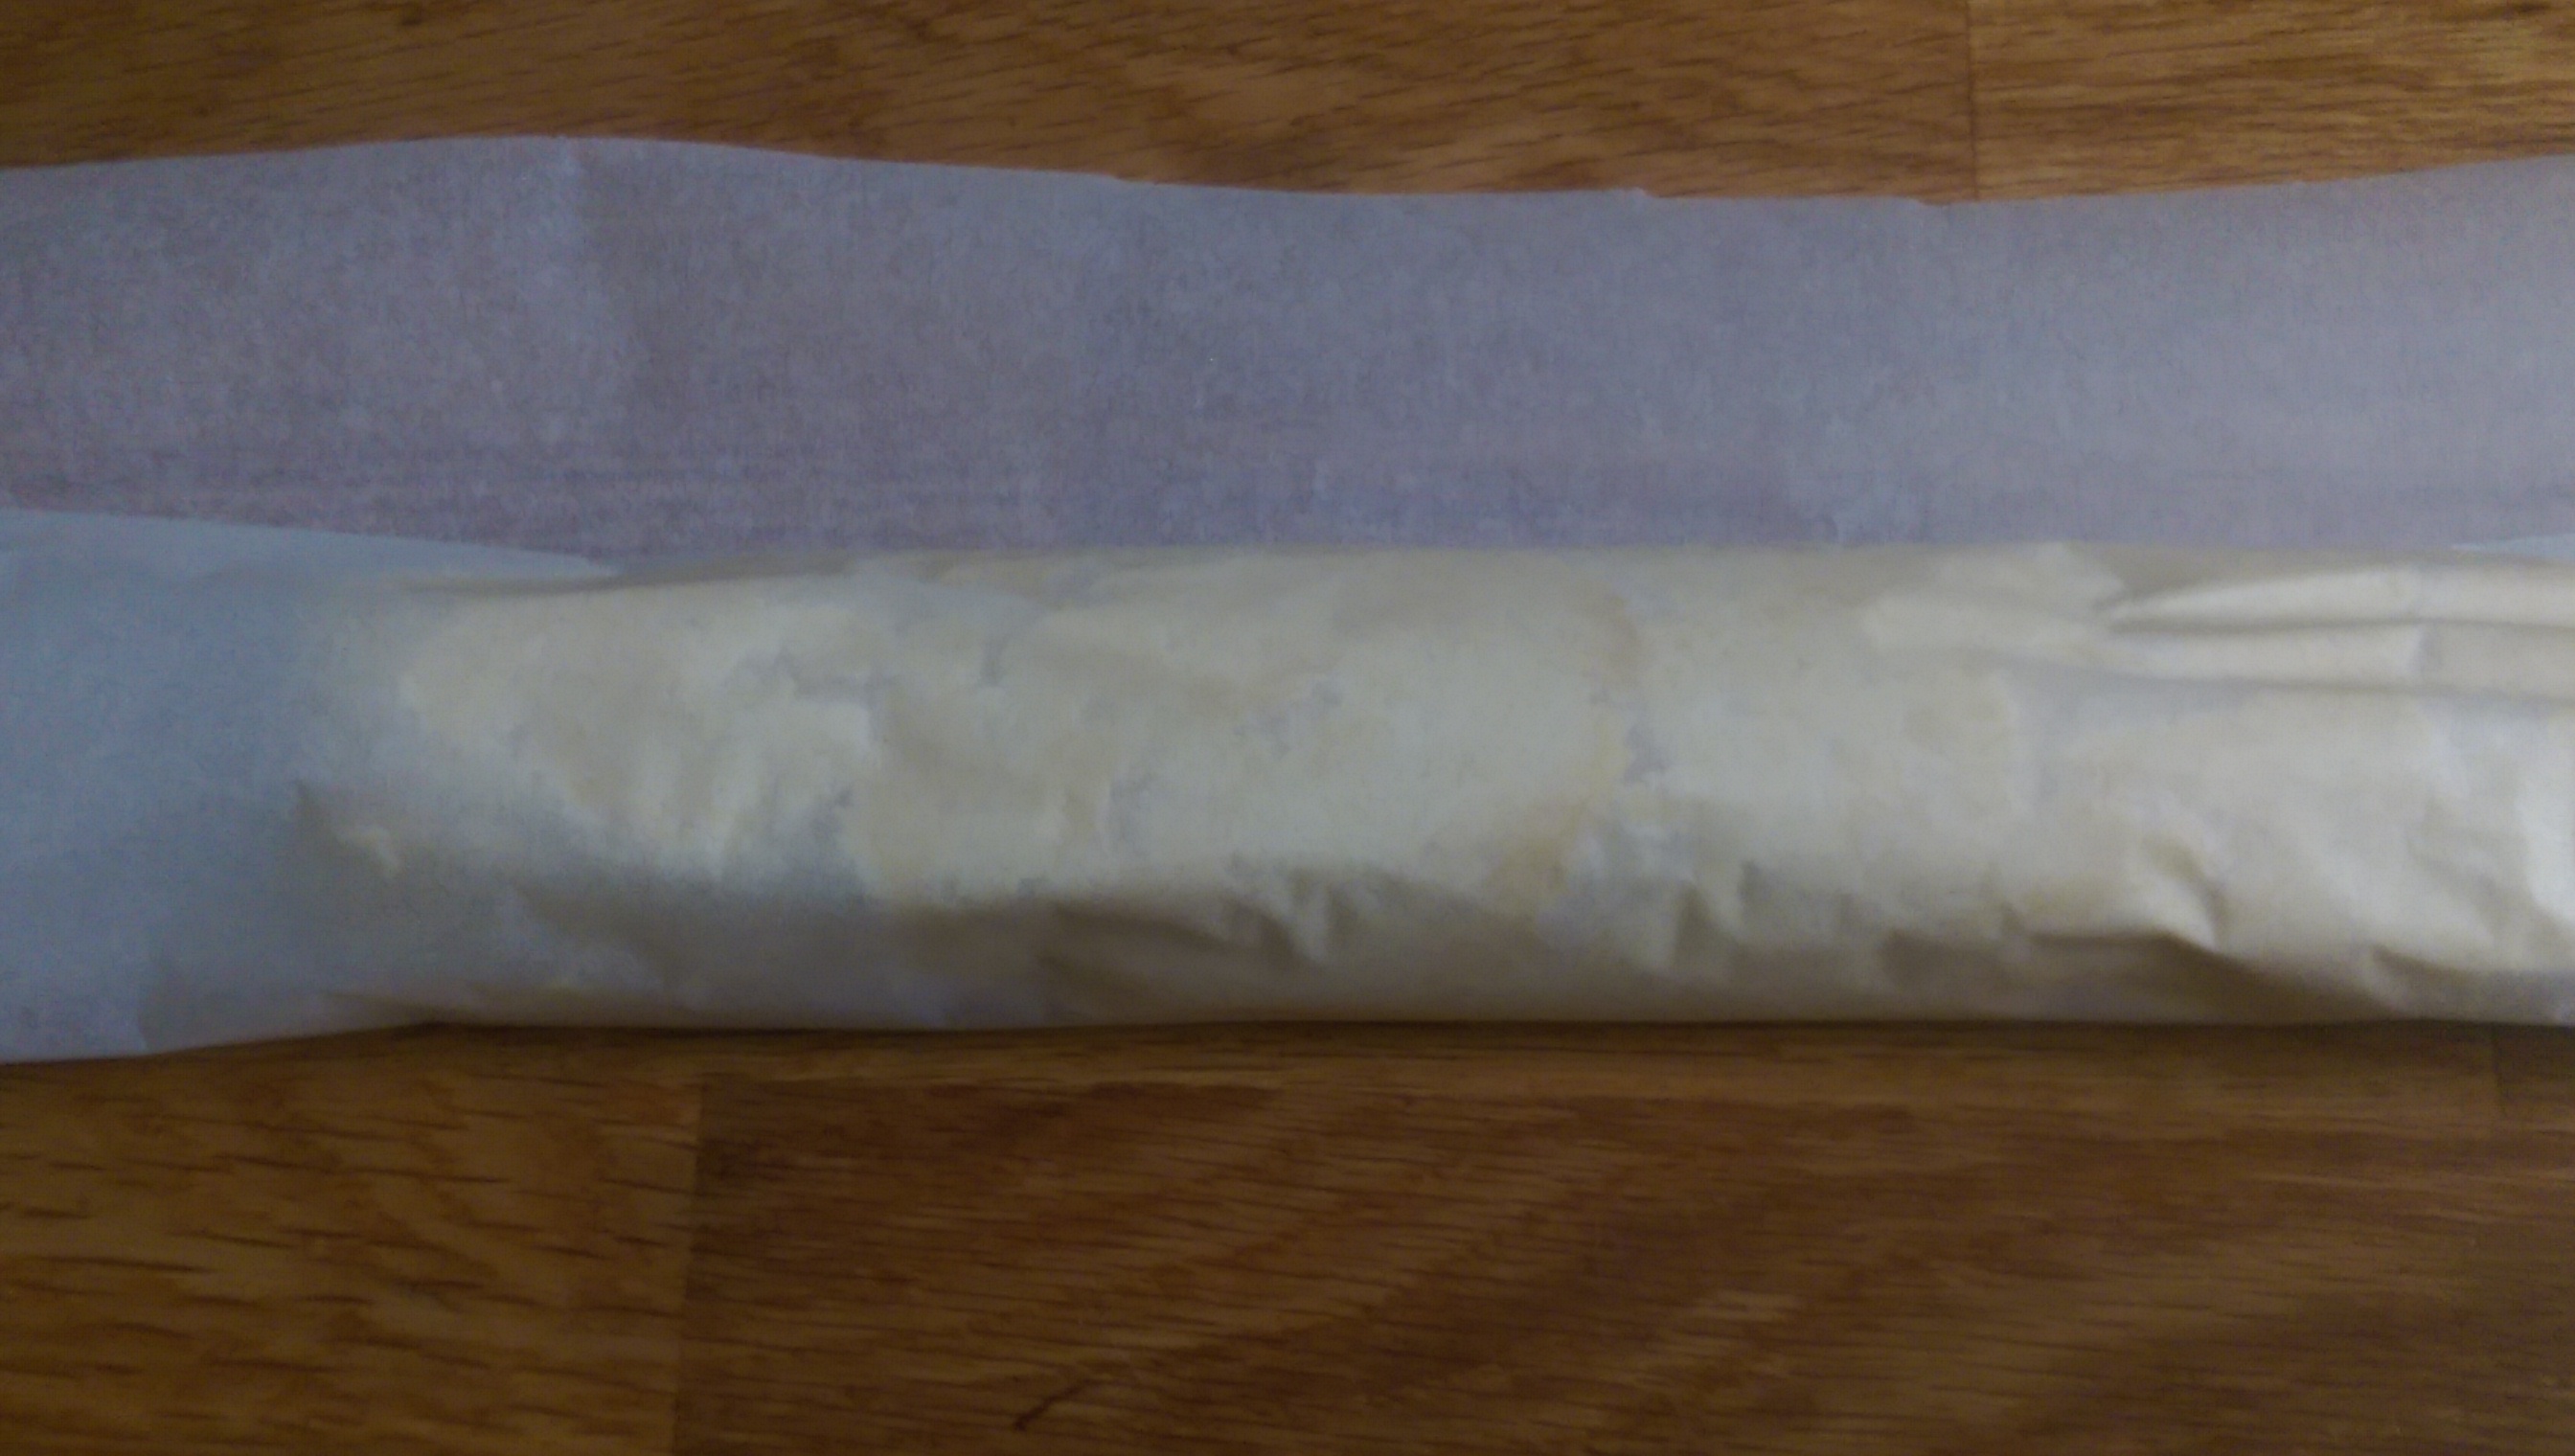
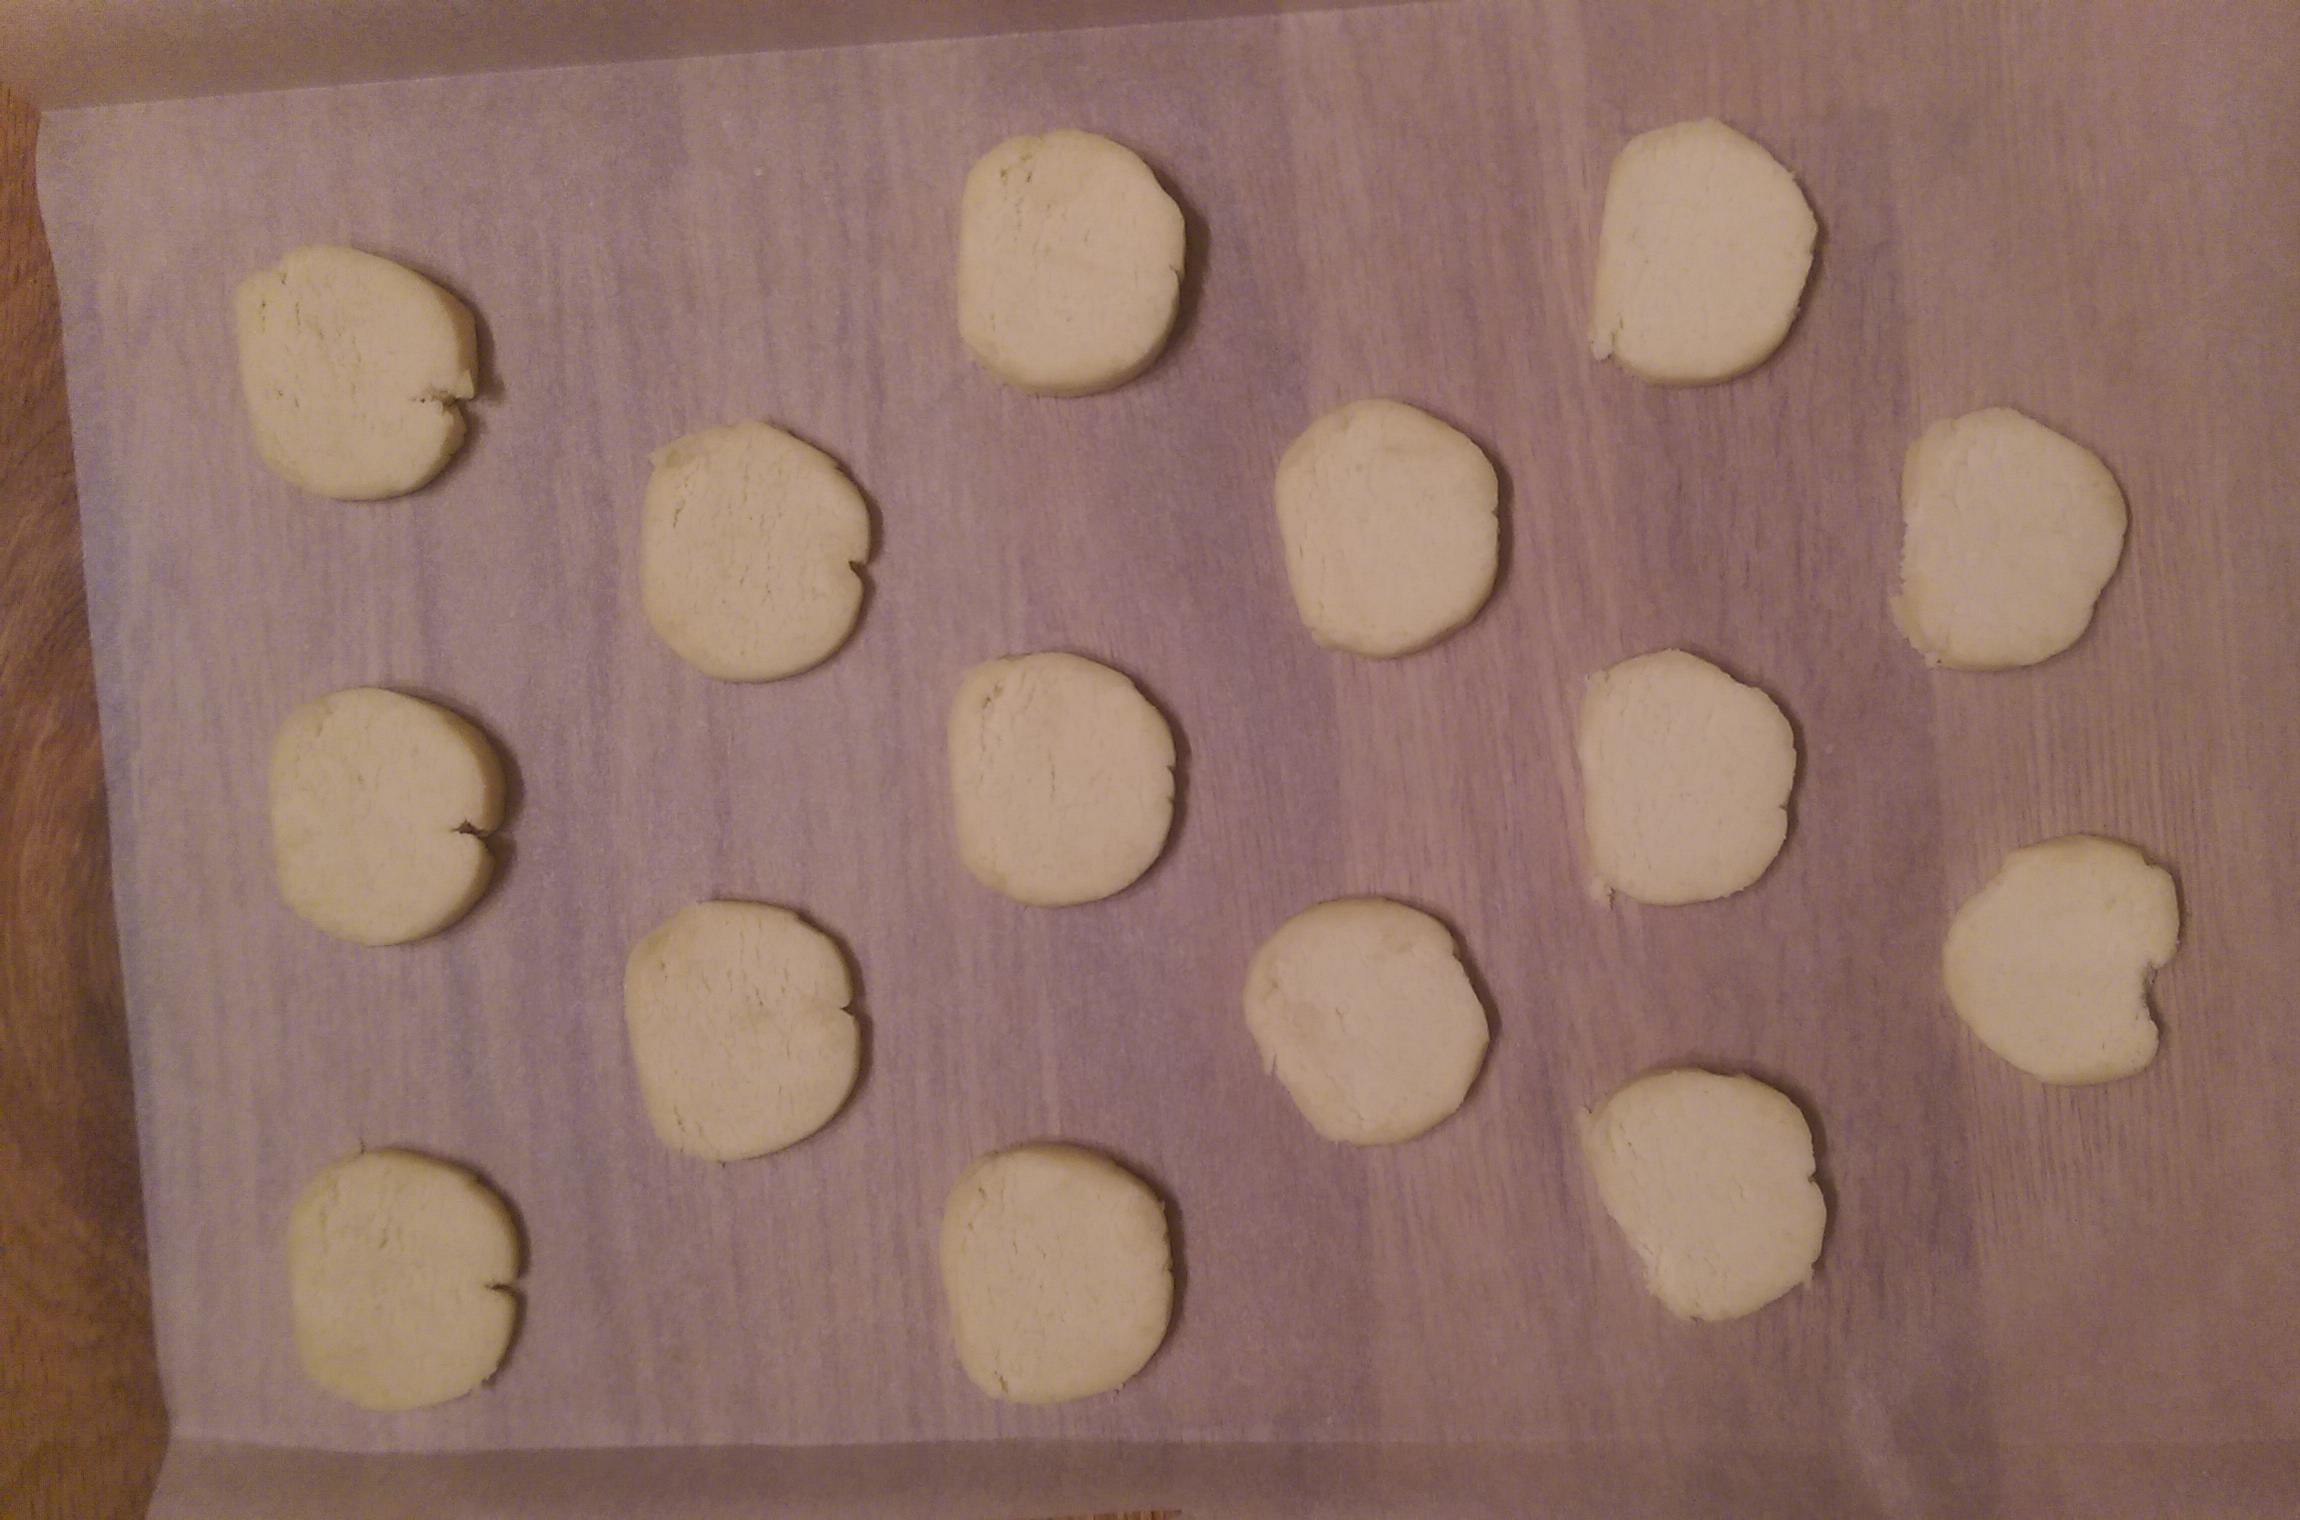
Preheat oven to 240 degrees (464 F). Halve the dough and roll it out into an oval shape about 3 mm thick (1/10 inch) on a lightly floured surface. Place the dough on two baking sheets lined with baking paper.
Spread the crème fraîche / sour cream over the dough, leaving a border of approx. 1 cm (½ inch) free all around. Peel the onions, cut them into fine rings, cut the bacon into strips, spread both over the crème fraîche / sour cream and season.
Baking per tray: approx. 12 minutes each on the bottom shelf of the oven.