In retrospect this was probably one of those things that should have occurred to me (and to Peter) quite some time back.
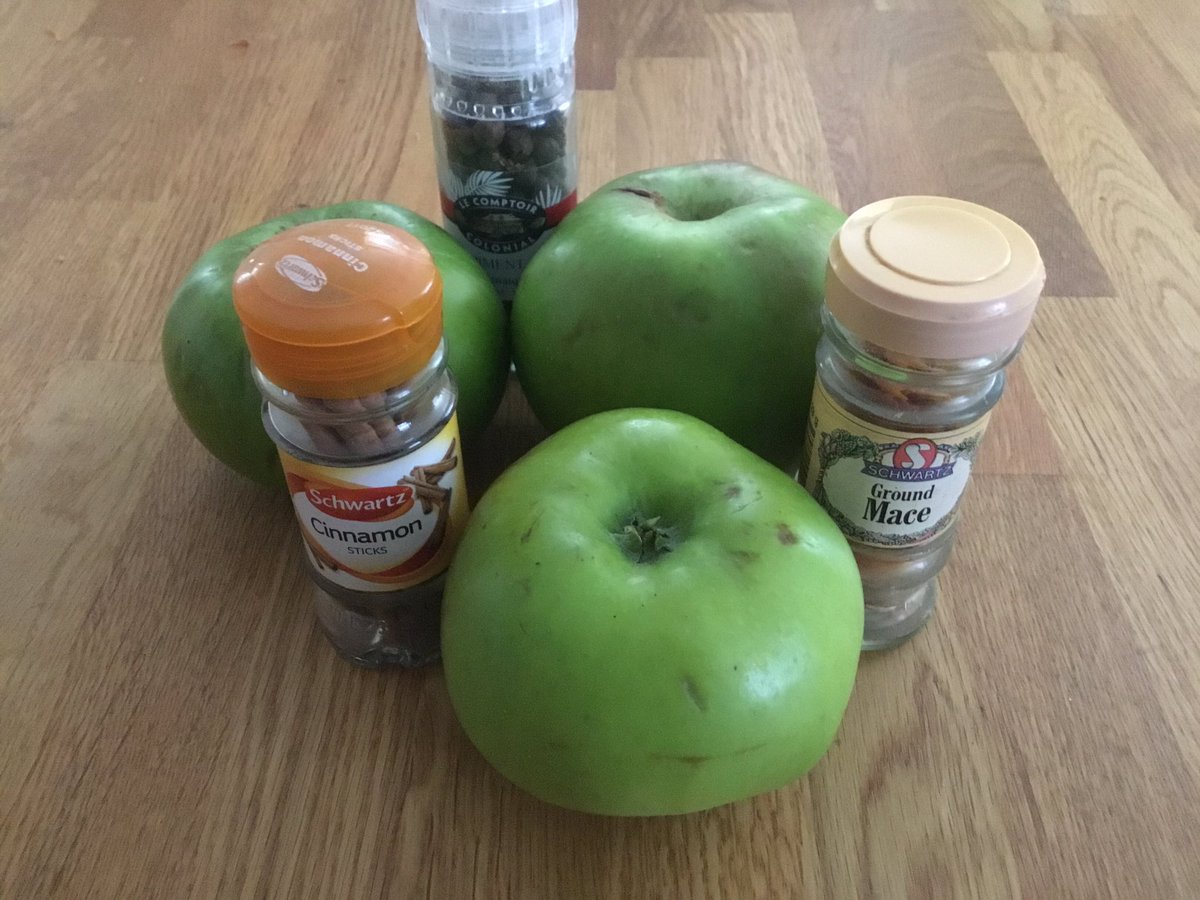
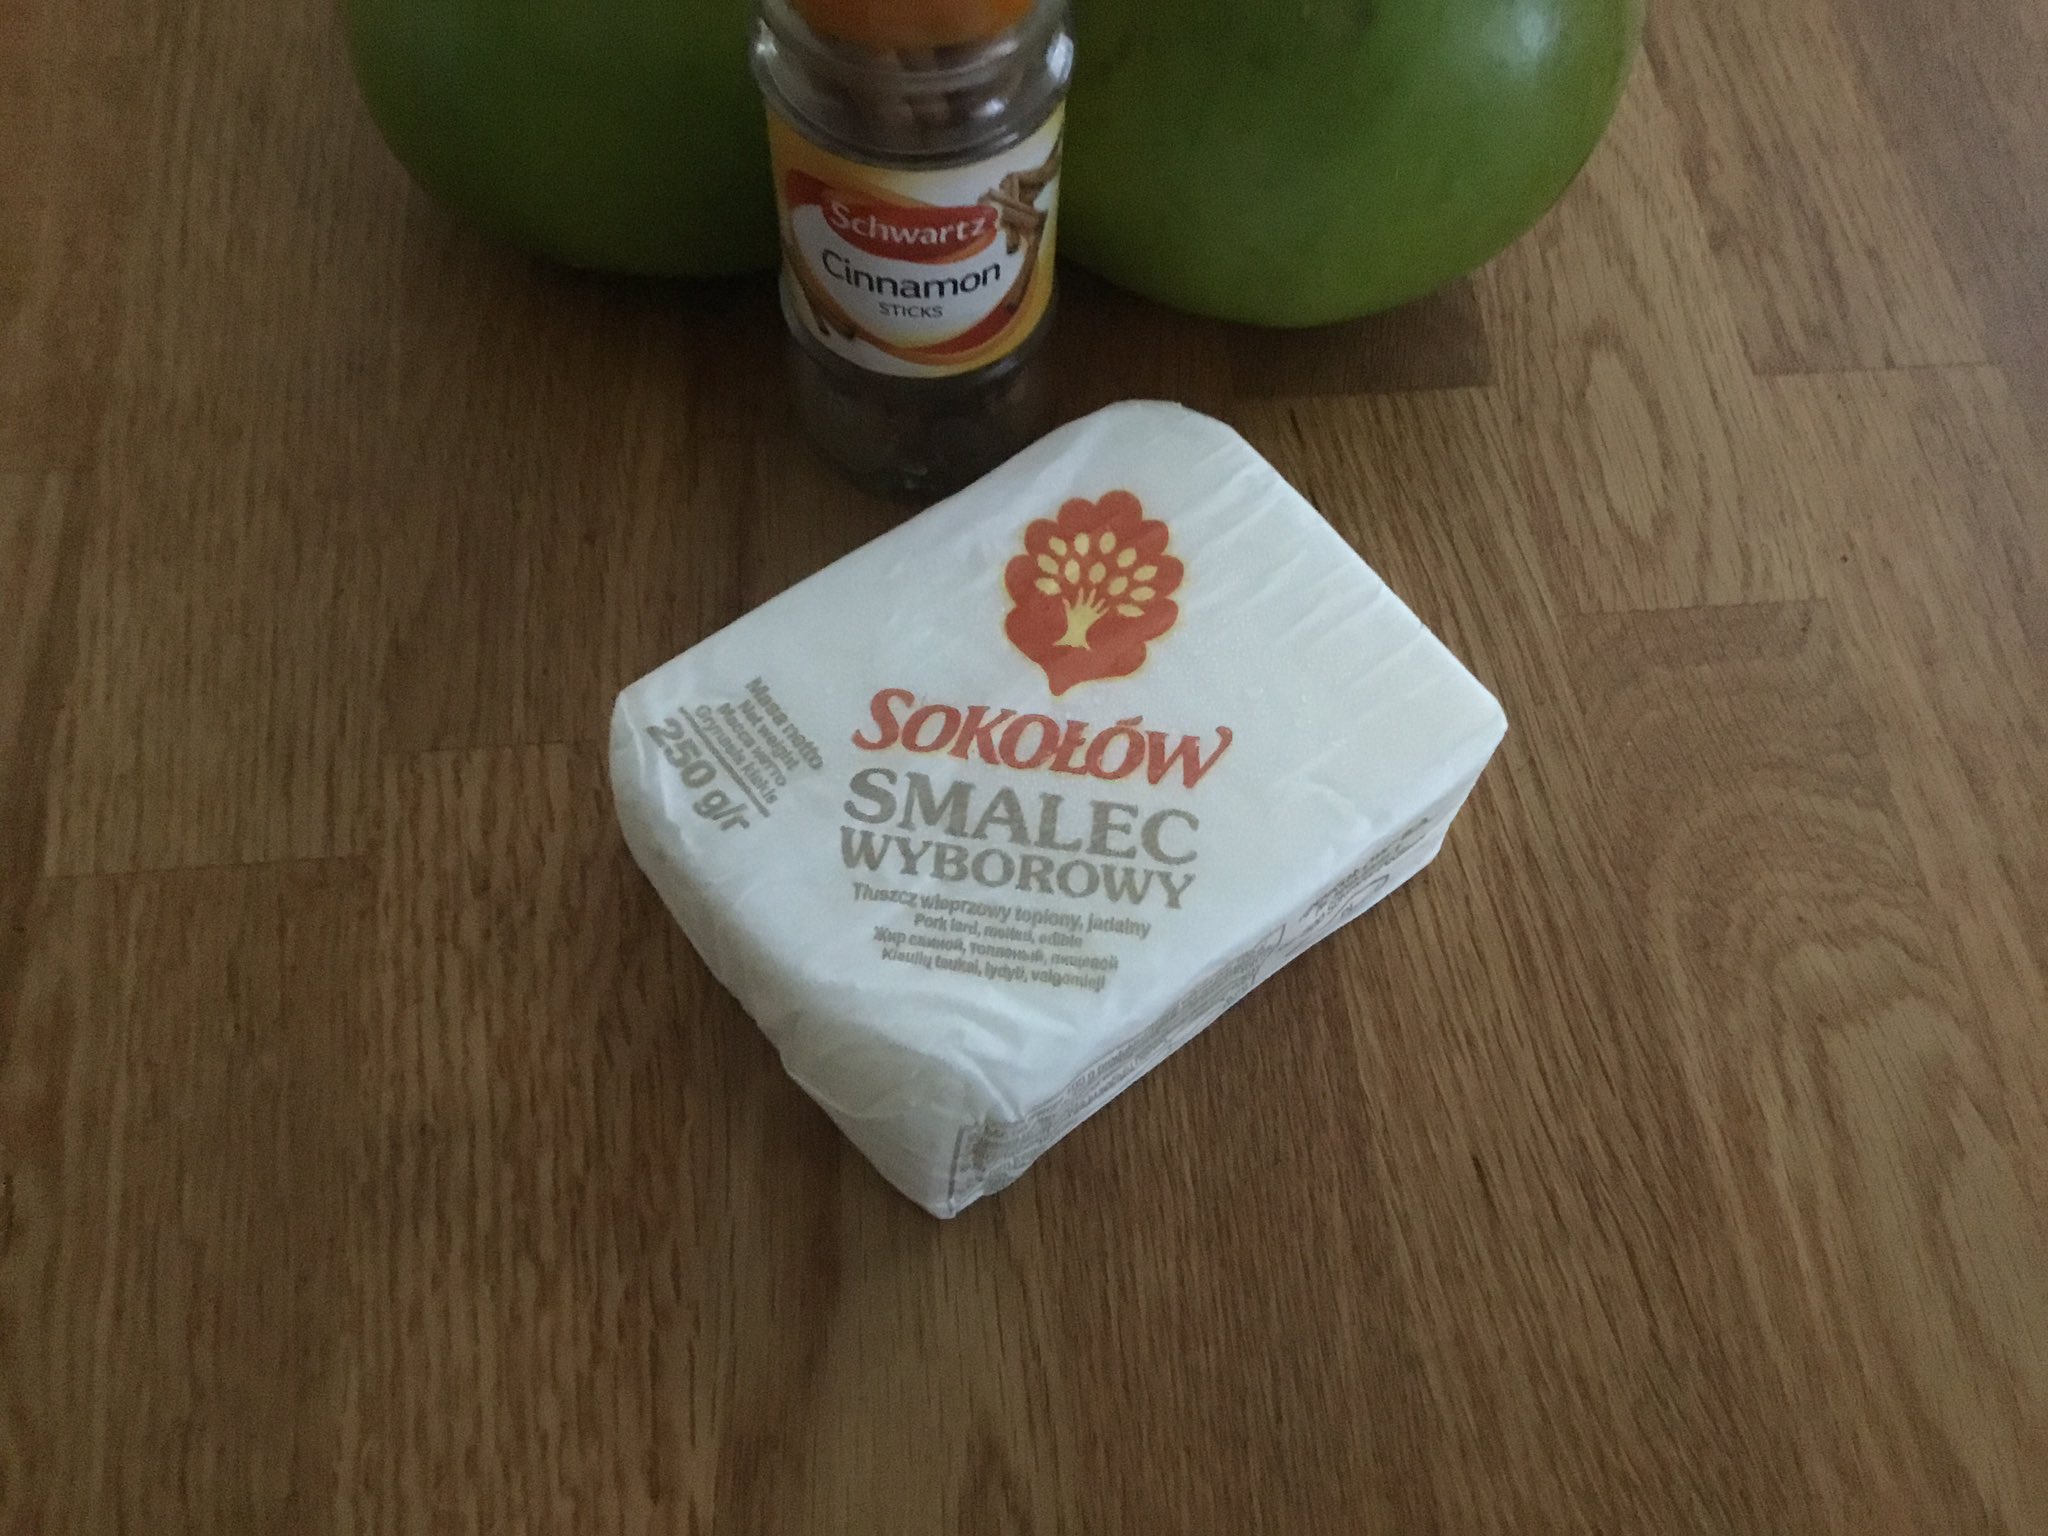
Often enough, food comes up in some online conversation one or the other of us is having; and that one-or-another-of-us winds up writing down a recipe to post. The point at which this behavior (indulged over years, if not decades) starts becoming a problem is when you can no longer remember which platform or site you were on when you did that. His Tumblr, or mine? Here at Out Of Ambit? On Facebook, or over at Bluesky? Possibly even Twitter (though less and less, these days), or somewhere else?
Some weeks back the two of us were sitting around in the pub and discussing the significant changes in online life, just over the last few years… and this particular issue came up, almost as a postscript. I can’t remember which of us was the one to say, “it’s a pity we can’t have all our recipes in one place.” Nor can I remember which of us first said, “…Why can’t we?”
Off that realization, we spent a little while discussing the logistics of doing something about that. The business would be challenging, but not impossible; and if it would take a while, well, it’s not like we had any kind of deadline.
First, of course, a new website was going to be needed. But once we had that sorted out, many of the sites we’ve posted recipes to are sufficiently searchable, even with the naughty AI-based behavior of Google recently, for us to relocate our posted recipes without too much trouble. After that it’d just be a matter of cut-and-paste. Some of the importing would be a little fancier, in the case of videos that weren’t located on YouTube.
Then all that would be needed was to let people know where the recipes had been moved to…
And not just the people. The search engines have their own requirements. Google, in particular, gets excessively cranky if you duplicate content across your own sites. There are good reasons for this, and I’m not going to take issue with them… especially considering how many of our own original recipes (especially those at the now-retiring EuropeanCuisines.com) have been scraped over the years by bigger food sites, stripped of their attributions, and monetized without so much as a “thank you for your material”.
And speaking of EC.com: having a household recipe site is a convenient solution for a problem that had started to become obvious over there. Both of us have had various European-originated household recipes that, for various operational and structural reasons, weren’t easily slotted at the EC site. With a new household recipe site, that issue ceases to be one.
So this is an official notification for OOA readers: if you had a recipe or food post bookmarked over here, and try to visit it and wind up at a different site—there’s nothing nefarious going on. I made that happen.
The way a webmaster keeps Google from getting upset by having content duplicated across sites is to make sure that it only appears at one URL. But the other URL, the post’s old one (from which one’s removed the post’s original content), can for everyone’s convenience have attached to it what’s called “a 301 redirect“. This is a code that tells the website, “See this old URL? Any time someone tries to visit it, send them to this new URL instead.” And it also tells the search engines that the content has been permanently moved, and where it’s been moved to, so they can adjust their indexes accordingly. (I just added one of these redirects now. The flammkuchen recipe’s old OOA URL is here: click on it and you can see how the redirect behaves.)
Now, this relocation of posts is not going to happen all at once. This is a hobby endeavor; there’s too much actual work-based stuff going on over here for it to happen quickly. It’s essentially about the two of us being able to tear our hair less when online buddies ask “Where’s that pork-with-chilies-and-chocolate recipe of Peter’s?”, as we try to remember where the heck it is at the moment. And it’s about bringing some order out of an increasing state of chaos, to everybody’s benefit. (And frankly, at the moment, a little more order and a little less chaos—however small the venue in which it’s being encouraged—seems like a really good thing.)
The new site to which previously OOA-based recipes and food posts have begun relocating and redirecting is called The Mind Palate, at https://mind-palate.com. When devising a recipe, or thinking about somebody else’s), the two of us often speak of tasting it first using the “palate of the mind” to get a sense of whether it’d be worth making or eating to begin with. …And if the name is indeed a terrible Sherlock pun, well, that’s on me. 🙂
In any case, we both cordially invite you to come over and kick the tires as, post by post, we build the new site out.
Thanks for your interest!